on
Jekyll github blogs and their ruby dependencies
As an avid python programmer I know nothing about the ruby programming language. I took help of my friend to create this blog. Everytime I change my laptop I have to install existing dependencies to run my current blog. I frequently forget the things on how to install dependencies effeciently to update my blog and check how my blog looks before it goes to public. This time I thought to write my research on how exactly this blog is built and the dependences to run this blog.
Ruby and Python
These both languages are opensource and are object-oriented programming languages. Both are scripting, server-side, cross-platform and general purpose programming languages. Both are dynamically typed, which means you do not need to declare the type of variable before using it.
| Python | Ruby |
|---|---|
| Due to python’s straightforward and simple syntax, most freshers opt for it. | For a beginner, Ruby can be slightly challenging, as the language usually takes much getting used to |
| As for Python, you’ll find a plethora of ready-to-use code or “modules” that are easily accessible via PyPI |
Although Ruby, too, has same number of ready-to-use code called Gems, the difference between Ruby and Python reusable code lies in the filtering factor |
| Python’s virtualenv lets developers isolate different versions of the python interpreter | Ruby also comes with similar features -rbenv or rvm |
| Python is used for websites such as Google, YouTube, Spotify, and Quora. | Ruby is used widely for websites such as Airbnb, Hulu, Kickstarter, twitter, basecamp and Github |
The above comparision is taken from this source
My Blog - Tale theme
My blog uses tale theme which inturn uses jekyll gem. If you are interested to start a blog of your own, you can directly clone this repository from github and add text in markdown (.md) files under _posts folder. To develop your blogs locally, check below
What is jekyll?
Jekyll helps to transform plain text into static websites and blogs. The Jekyll gem makes a jekyll executable available to you in the terminal. The usage of the jekyll command is given here. I use the following command to update the blog or test the changes in my blog.
jekyll serve
But before the above command, there are dependencies to run the above successfully. To install jekyll gem we need to install ruby
For linux
sudo apt-get install ruby-full
For Macos
brew install ruby
The ruby version can be checked using the followig
ruby -v
For me it resulted
ruby 2.7.0p0 (2019-12-25 revision 647ee6f091) [x86_64-linux-gnu]
with ruby, gems will also be installed and gem version can be checked using
gem -v
It was 3.1.4 version, I had to downgrade it using below command due to (Gem::UnsatisfiableDependencyError)
sudo gem update --system <version no>
I used 2.5.2 version no. Then you can install jekyll gem by the following command
gem install bundler jekyll
You might have got a question what is bundler doing here
What is bundler?
Bundler provides a consistent environment for ruby projects by tracking and installing the exact gems and versions that are needed. Now go to the directory of ruby project, here it is my blog directory. To install the dependency gems use the following command
bundle install
Lets explore the ruby repository structure
When you clone tale, the following files are important to know
- Gemfile - Gemfile specifies a format for describing gem dependencies for ruby programs. The current gemfile of tale has two lines
- source “https://rubygems.org” - tells the source from which specified gems can be installed.
- gemspec - redirects to below tale.gemspec
- tale.gemspec - .gemspec file has a specification class which contains the information for a Gem. I modified this file by adding
spec.add_runtime_dependency "kramdown-parser-gfm", "~> 1.1.0"as kramdown-parser-gfm gem is missing for the current project. - _config.yml - _config.yml file gives a flexibility to specify options on how to build our site.
- Gemfile.lock - Gemfile.lock is written by bundler. This has all the gems and versions that was installed, this is generated once
bundle installis finished.
Final step
Run the below command to run the jekyll website locally
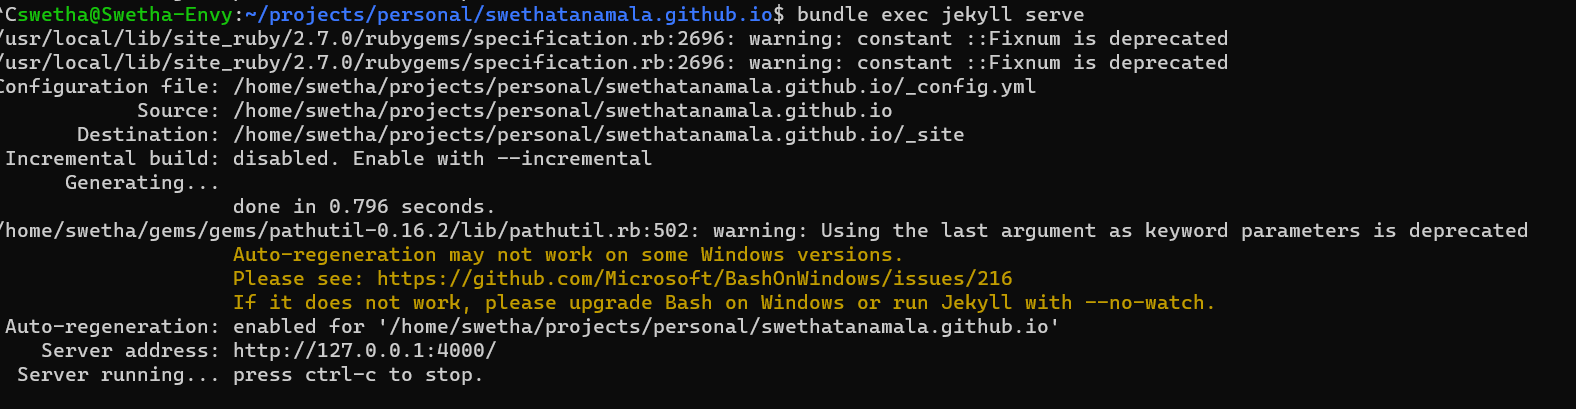
bundle exec jekyll serve
Check the result of the above command
Once you are satisfied with the content, push the .md file and its dependencies like images, etc., to the master branch. Make sure your github repository name is username.github.io where “username” is your actual Github user name. Using github pages, the site is automatically built and can access your blog site using your repository name as link.